How to Host a School Art Show
Hosting a school art show is a fantastic way to celebrate student creativity and showcase their hard work. Whether you’re organizing your first event or looking to refine your approach, this guide provides simple, effective tips to help you plan a memorable and engaging experience for students, families, and the school community.

But First – The Artwork!
To ensure a well-stocked display, try to keep most student artwork at school. If possible, create portfolios to keep everything organized.
When to Hold the Show
For a great turnout, consider scheduling the art show on a date already in the school calendar, such as:
Open House
Science Fair
School Auction/Fundraiser
While any time of the year works, a later date allows for a greater selection of student artwork. Be sure to check with your school principal for approval.
Where to Hold the Show
Multi-purpose Room
Gymnasium
Hallways and classrooms
Cafeteria
School Library
Outside Spaces (weather permitting)

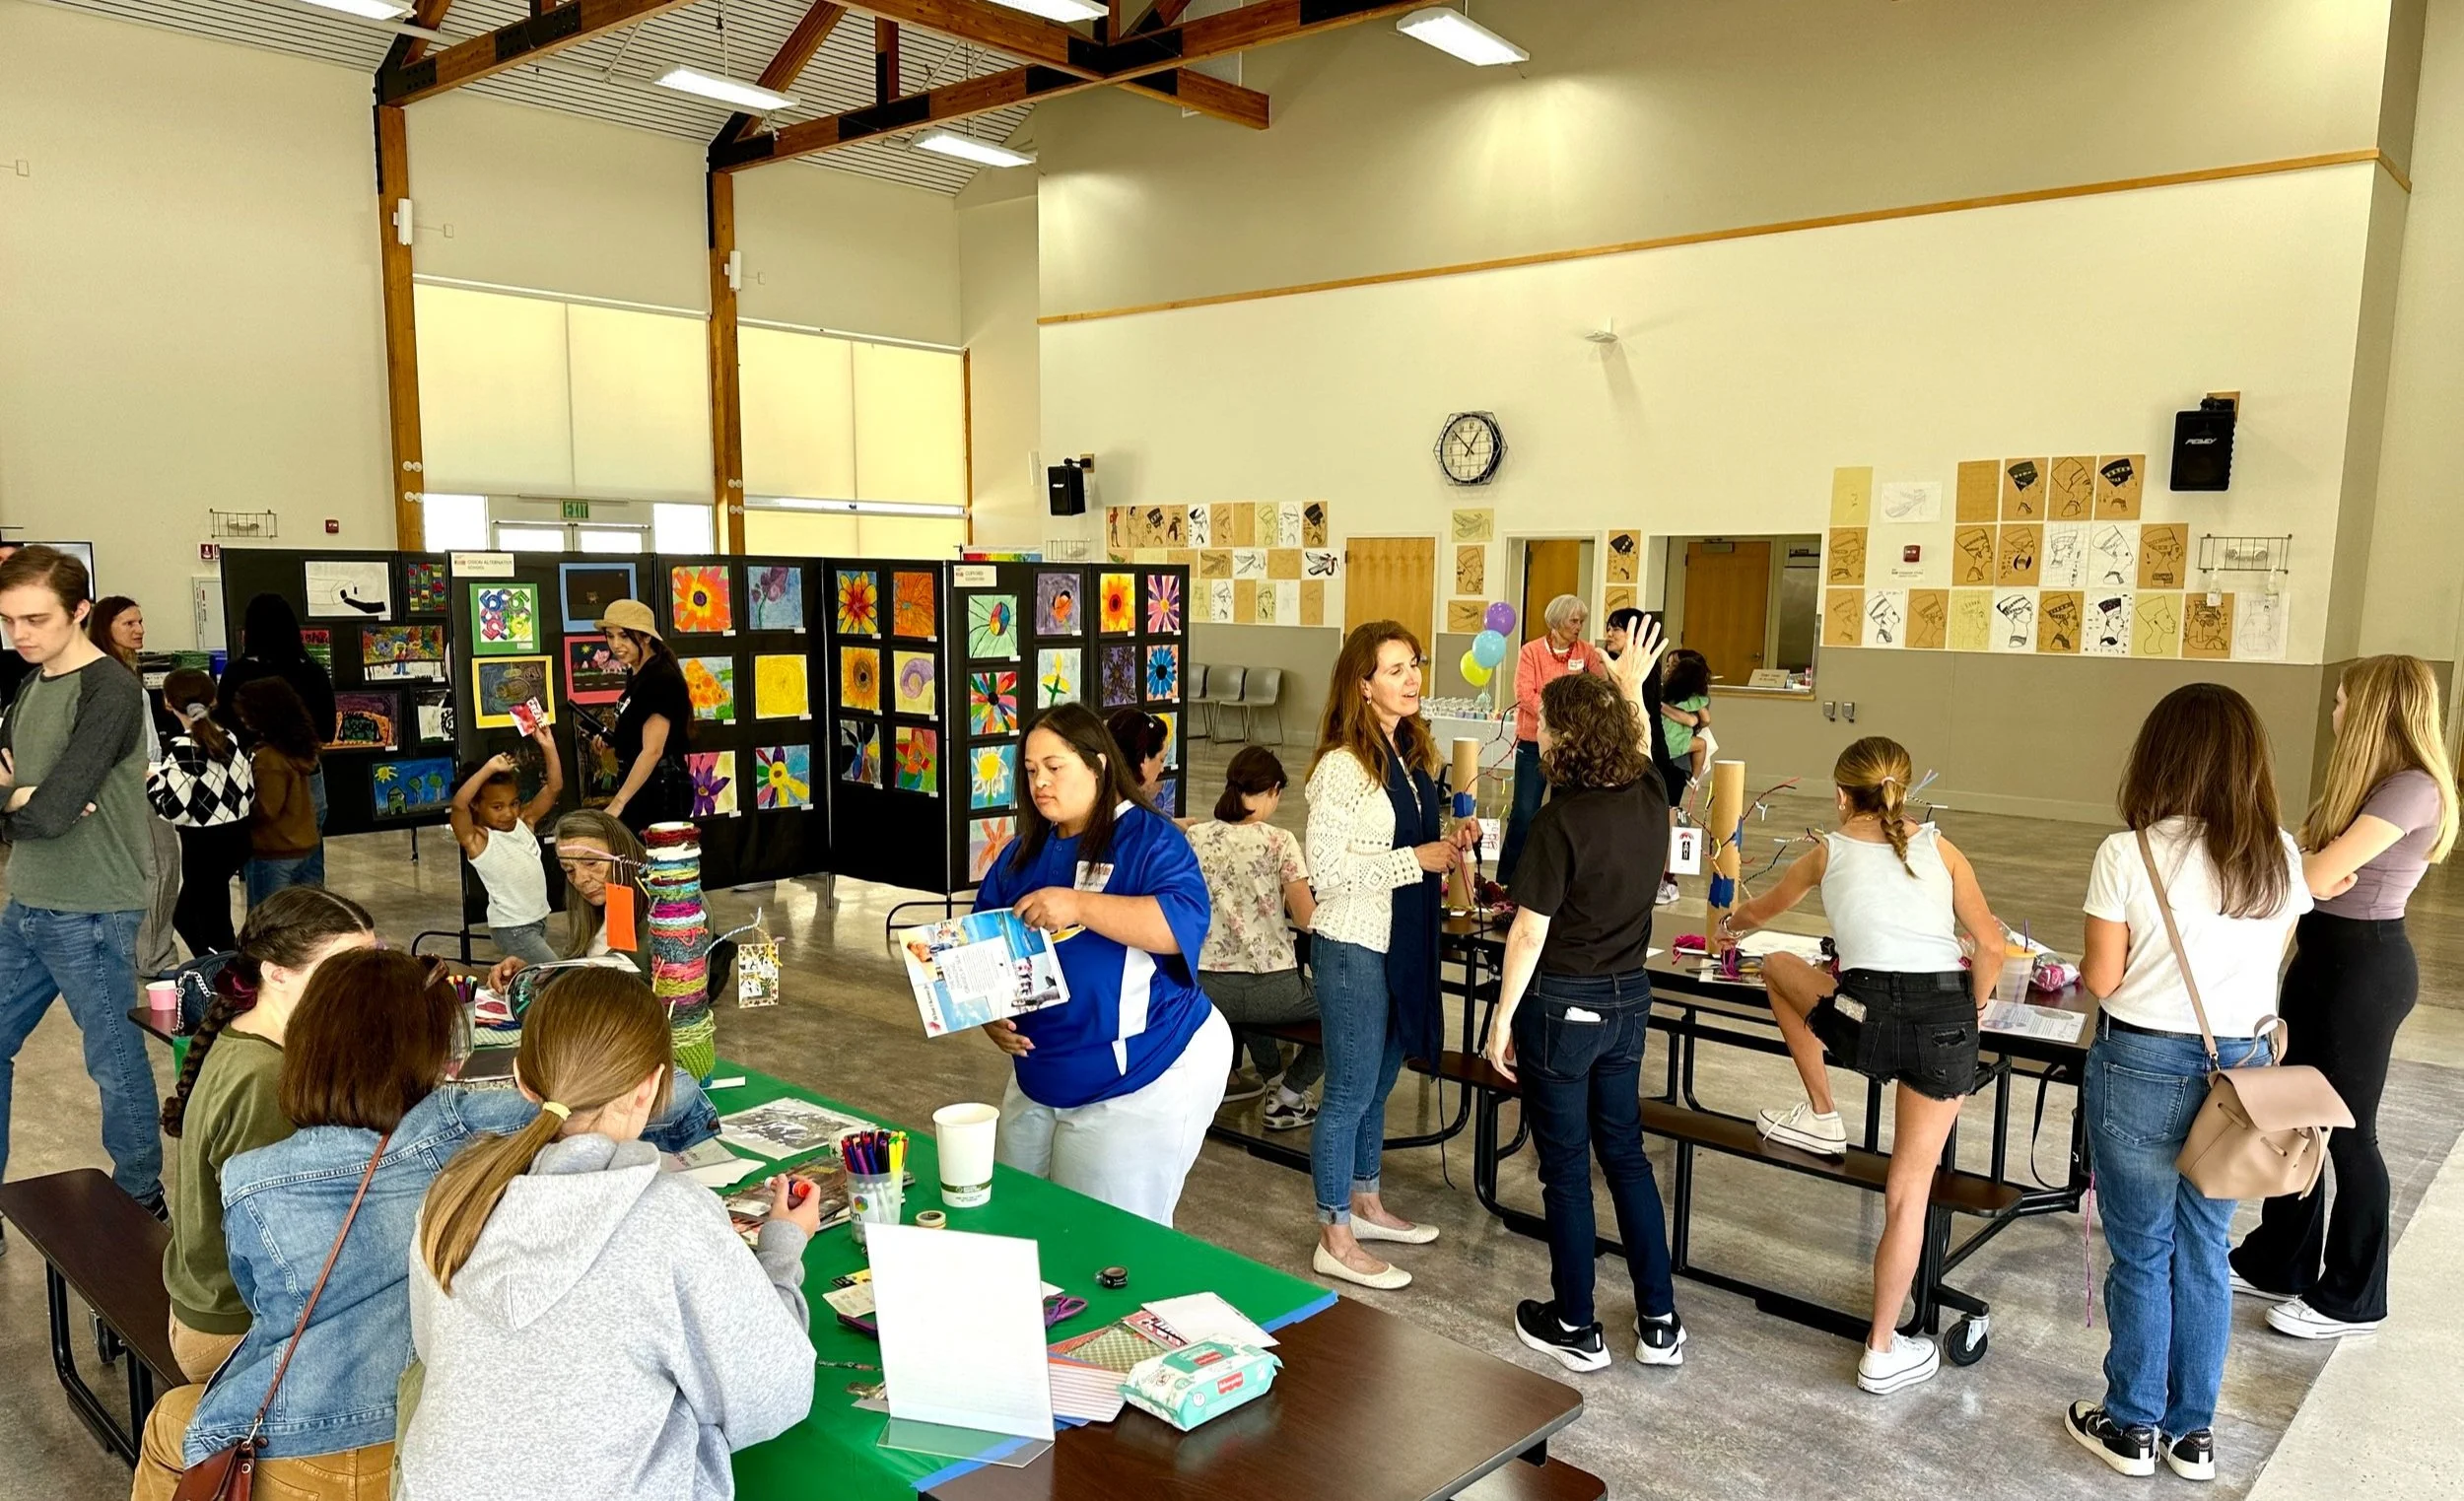
✨Envision a Gallery Experience
Display Areas
Wall Space: Use black 36” roll of paper for a polished look.
Windows: Perfect for “stained-glass” projects (Marc Chagall’s America Windows or 3rd grade’s Thomas Cole’s lesson!)
Tables: Great for displaying clay or wire projects.
Ceiling/Wall Displays: Long strips of black paper can be stapled vertically and secured to the ceiling or wall with binder clips or painter’s tape.
Cardboard Display Boards: Trifold boards work well for tabletop displays and allow for multiple viewing angles.
Pro Tip: Amazon has pre-made posterboards, or you can DIY them: https://amzn.to/4d3ILqN

Ask for Help
A few extra hands make a huge difference! Consider recruiting:
Parents
Older Students (5th-8th grade)
School Volunteers
Simple tasks like making tape loops or stapling artwork can be quick and easy with teamwork.
Promoting the Art Show
Spread the word through:
Posters around the school
Flyers: Printable Flyer Template
Social media
School Newsletter

Selecting the Artwork
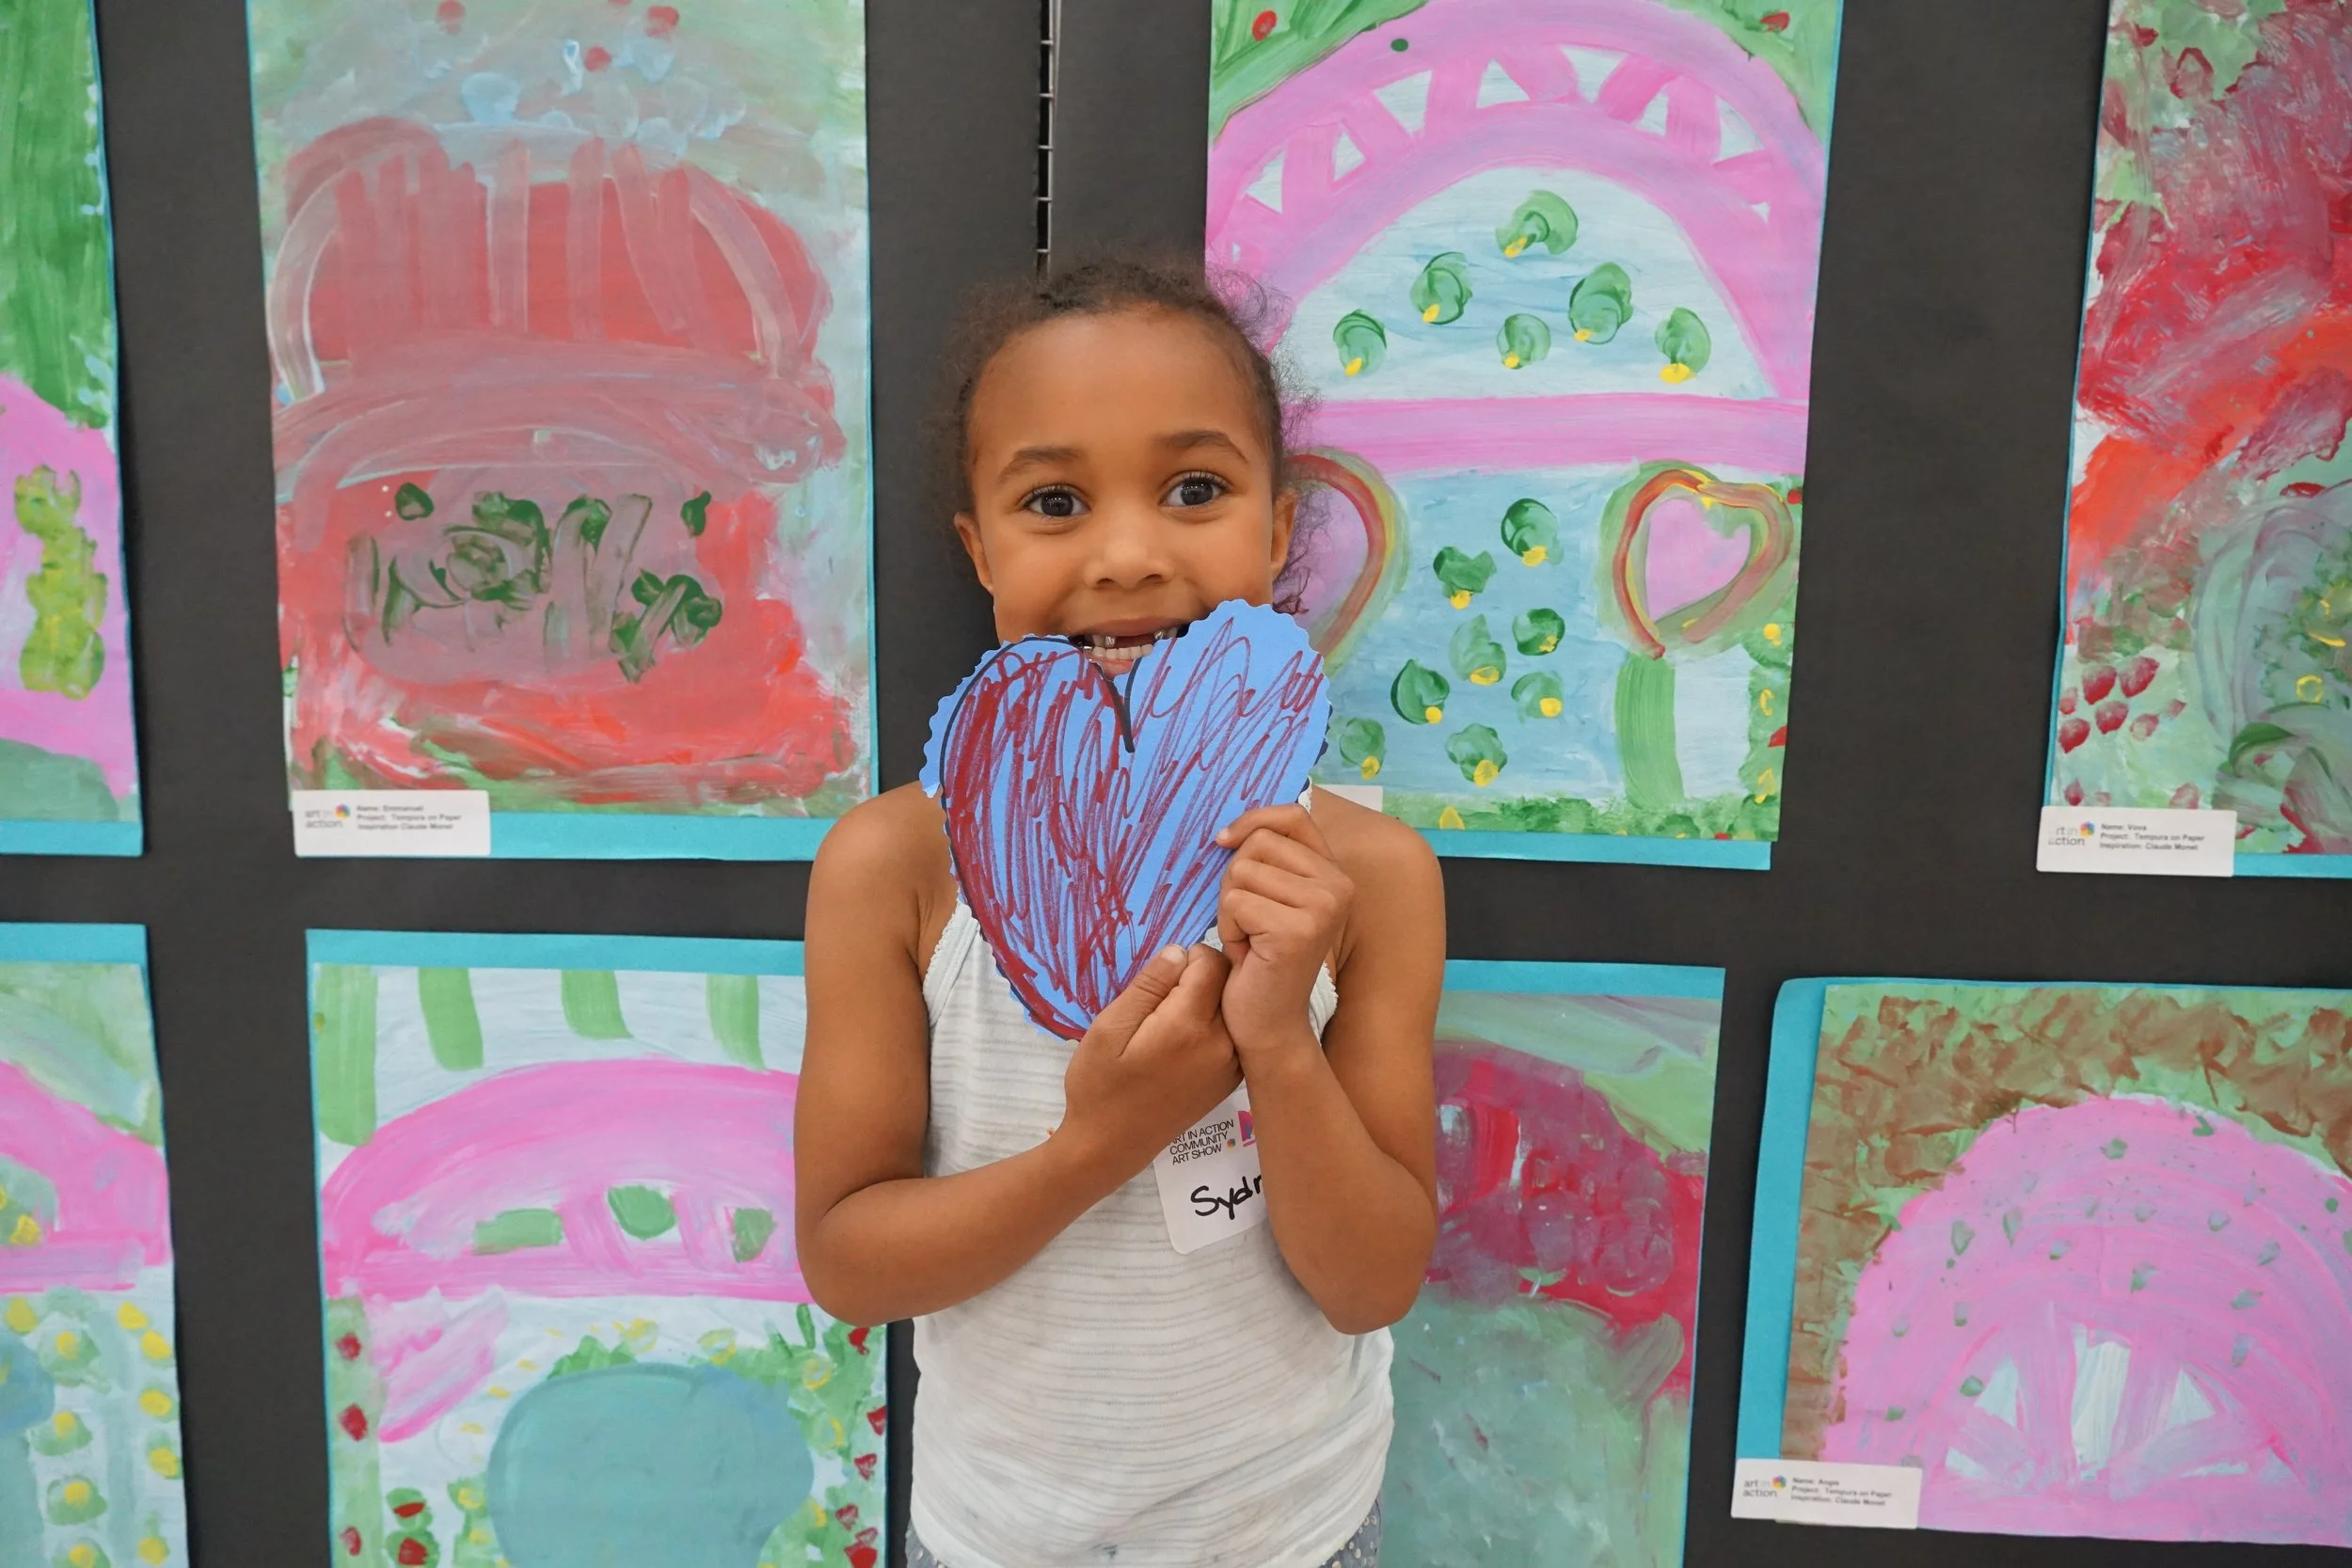
To create a more meaningful experience, allow each student to choose their favorite piece. This gives them a sense of pride and excitement when sharing their work with family and friends.
✨Tip: Pull students outside the classroom to select their artwork, so they don't copy what they see their peers/friends select.
For variety, group different lessons together, rather than grouping the same art project (though that’s okay too!).
Prepping the Artwork
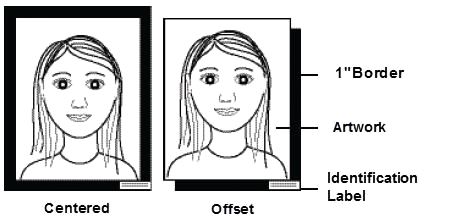
Mount the artwork on construction paper to protect it and add structure.
Attach a label with the student’s name to the backing, instead of directly on the artwork.
Use tape or staples on the backing, not the actual artwork, to preserve integrity.

Creative Display Ideas
Monet-Inspired Art? Add cut–out lily pads around the display.
Van Gogh’s Starry Night? Use twinkling LED lights for ambiance.
Prehistoric Art? Create a “cave” corner using brown paper and flashlights.
Encourage interactive and immersive displays to bring the artwork to life!
Mini Art Gallery “Fieldtrip”
Create the opportunity for each classroom to view the Art Show as a class (like a Viewing Schedule). They know their grade art, but this is also a great opportunity to see other grades/classroom’s artwork.
We are excited to see all your wonderful art shows this spring! If you have questions or need additional support, please reach out to Elizabeth at elizabeth@artinaction.org!